Creating an art studio or craft room in your home is an exciting project that allows you to unleash your creativity. Here are some ideas and organizational hacks to help you set up your home art studio:
Where to Set Up an Art Studio at Home
1. Transform a Dining Room
- If your dining room is rarely used, repurpose it into a DIY home art studio. Utilize shelves for craft items, and make space for a drawing table and storage for works in progress.
2. Turn a Bedroom into a Private Studio
- An extra bedroom offers privacy. Ensure proper ventilation for art projects with strong odors. A door adds to the quiet atmosphere conducive to creative work.
3. Utilize an Extra Closet
- Convert an extra closet into a cozy home studio. Clear out space for a small desk, easel, or fold-down table. Use existing shelves for art supplies.
4. Convert a Shed into a Small Art Studio
- Build a studio in an outdoor shed to avoid distractions. Ideal for larger art supplies like pottery wheels, easels, and clay project storage.
5. Build a Studio in a Garage
- Utilize the garage for an art workspace with ventilation and natural light. Install pegboards, drawing tables, and workbenches for an optimal creative space.
6. Set Up a Studio Under the Stairs
- Maximize the space under the stairs for an art studio. Add shelving, wall-mounted easels, and proper lighting. Consider a small desk for digital artwork.
7. Design a Basement Art Studio
- Convert a basement into an art studio with proper heating and cooling. Utilize the space efficiently to avoid clutter in living areas.
8. Make Use of Attic Space
- An attic art studio provides extra space for projects while keeping the clutter away from living areas. Ensure proper heating and cooling for comfort.
How to Organize an Art Studio at Home

1. Choose Your Art Studio Table Wisely
- Select a desk or table with enough space for drawing, sketching, or designing. Ensure there's room to store and access your tools easily.
2. Hide Extra Supplies with a Curtain
- Use a curtain to conceal extra art materials under a desk or table. Keep your small art studio organized and maintain a neat appearance.
3. Repurpose an Old Card Catalog
- Repurpose vintage furniture like a dresser or card catalog for affordable art supply storage and an organizational system.
4. Use Wire Shelving Units
- Lightweight wire shelving units in various shapes and sizes provide versatile storage. Use them for art supplies, including cooling pottery pieces.
5. Stay Organized with Totes
- Keep art supplies organized and accessible in clear or colorful plastic totes. Use labels to manage and locate paints, drop cloths, canvases, and more.
6. Take Advantage of Vertical Storage
- In a small art studio, maximize space with vertical storage. Use floating shelves, corner shelves, and pegboards for efficient organization.
7. Reuse Old Mason Jars
- Collect jars or cans for an inexpensive way to store small art tools. Hang them on the wall or a pegboard for easy access to frequently used supplies.
8. Store Canvases in Wall-Mounted Holders
- Organize and store canvases in wall-mounted or floor storage racks. Create a DIY drying rack for canvases of all sizes.
9. Hang Pictures with Clothespins
- Use a durable wire and clothespins to hang pictures, drawings, or sketches on the wall. Save table space, display finished work, and easily switch out projects.
10. Use Rolling Carts for Supplies
- A rolling storage cart is perfect for organizing jars with brushes, construction paper, or glue sticks. Easily move art supplies around the room for convenience.
11. Store Supplies with Magnets
- Use magnets to store art supplies and free up desk or shelf space. Create a magnetic wall or board for a functional and space-saving solution.
12. Repurpose a Wine Rack
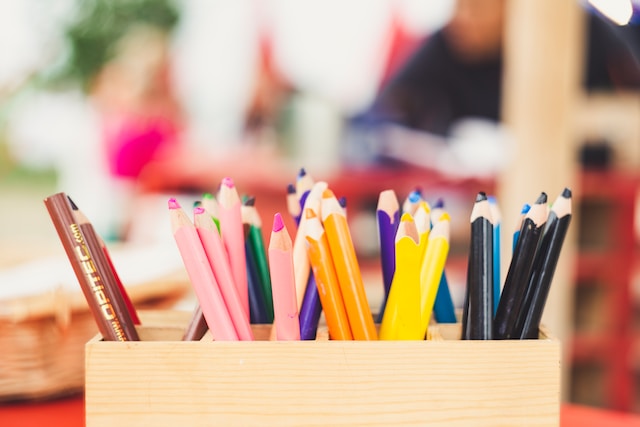
- Utilize a countertop wine rack for a creative way to store art materials. Organize loose items or color-coordinate markers, pens, or colored pencils.
Setting up your home art studio is a personalized journey, and these ideas can help you create a space that inspires your creativity. Whether you have a dedicated room or a small corner, smart storage solutions can make your art studio functional and organized.