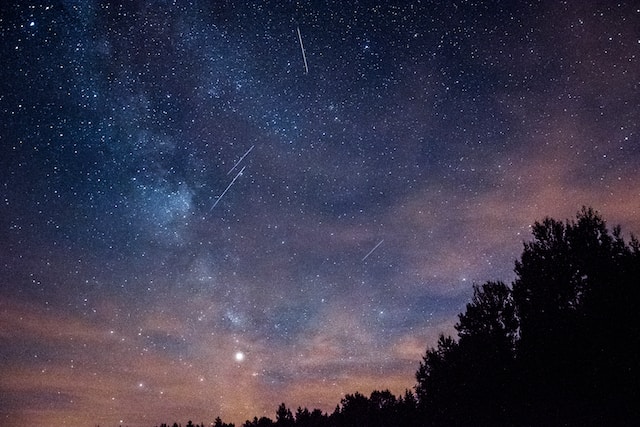
Capturing the celestial dance of stars through long exposure techniques transforms a starry night into a mesmerizing spectacle. Star trail photography unveils the beauty of diurnal circles, showcasing the apparent motion of stars as the Earth rotates on its axis. This guide explores the essential equipment, optimal camera settings, and expert tips to embark on a captivating journey into the realm of star trail photography.
Essential Equipment for Star Trail Photography
Manual Camera:
A high-quality manual camera is indispensable for controlling ISO, aperture, and shutter speed. Preferably, choose a camera with superior low-light performance, RAW mode capability, and, ideally, a built-in intervalometer for added convenience.
External Intervalometer:
If your camera lacks a built-in intervalometer, invest in an external one. This device allows you to extend exposure times and capture bursts of high-quality images, enhancing the overall star trail effect.
Wide-Angle Lens:
Opt for a wide-angle lens with a focal length between 14mm and 24mm and an aperture between f/2.8 and f/5.6. A fisheye lens can be used for a unique perspective, but the choice depends on the desired outcome.
Sturdy Tripod:
A reliable tripod is crucial for stability during long exposures. Invest in a sturdy tripod, especially if shooting in uneven terrain, to prevent camera shake and ensure precise shots.
Star Trail Photography Settings
Shutter Speed:
Set shutter speeds between 20 and 90 seconds to capture the motion of star trails effectively.
Aperture:
Choose an aperture value between f/2.8 and f/5.6 to allow sufficient light into the frame.
ISO:
Optimal ISO settings range from 400 to 3,200, depending on the camera and existing light conditions. Start with a lower ISO and adjust based on the results.
Expert Tips for Epic Star Trail Photos
Consider Composition:
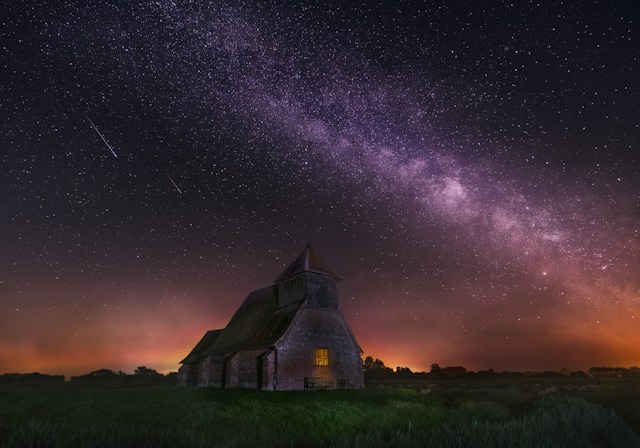
Enhance your star trail photos by incorporating compositional elements like trees, mountains, or buildings. These elements anchor the trails, adding depth and interest to the overall image.
Focus on the Brightest Star:
Use the rule of thirds and zoom in on the brightest star in the frame for a visually appealing composition.
Largest Aperture for More Stars:
Shoot with the largest aperture your lens allows to capture more stars and achieve higher image quality.
Show Rotation in Action:
Experiment with time-lapse photography to showcase the precise motion of star trails, creating a mesmerizing effect.
Go Panoramic:
Star trails are well-suited for panoramic shots. Explore stitching multiple frames for a dynamic composition.
Planning Your Star Trail Shoot

Check Sky Conditions:
Download stargazing apps like Star Tracker or SkyView Lite to assess the visibility of stars on a given night. Ensure a clear sky with minimal cloud cover for optimal results.
Consider Weather Patterns:
Pay attention to general weather patterns, as clear skies are essential for capturing unobstructed star trails.
Setup Composition First:
Prioritize setting up your composition before adjusting settings. Different frames may require specific inputs, and establishing the basics ensures a focused and well-framed shot.
Practice and Learn:
Mastery of star trail photography comes with practice. Regular shooting sessions allow you to tailor camera settings and discover the best locations for capturing the magic of the night sky.
Conclusion
Embark on your star trail photography journey equipped with the knowledge of essential equipment, optimal settings, and expert tips. Transform the night sky into a canvas of celestial art, where the dance of stars unfolds with each exposure. Through practice and exploration, unveil the enchanting beauty of star trails and elevate your photography skills to new heights.